Announcing Apple Business Connect Integration
Learn more →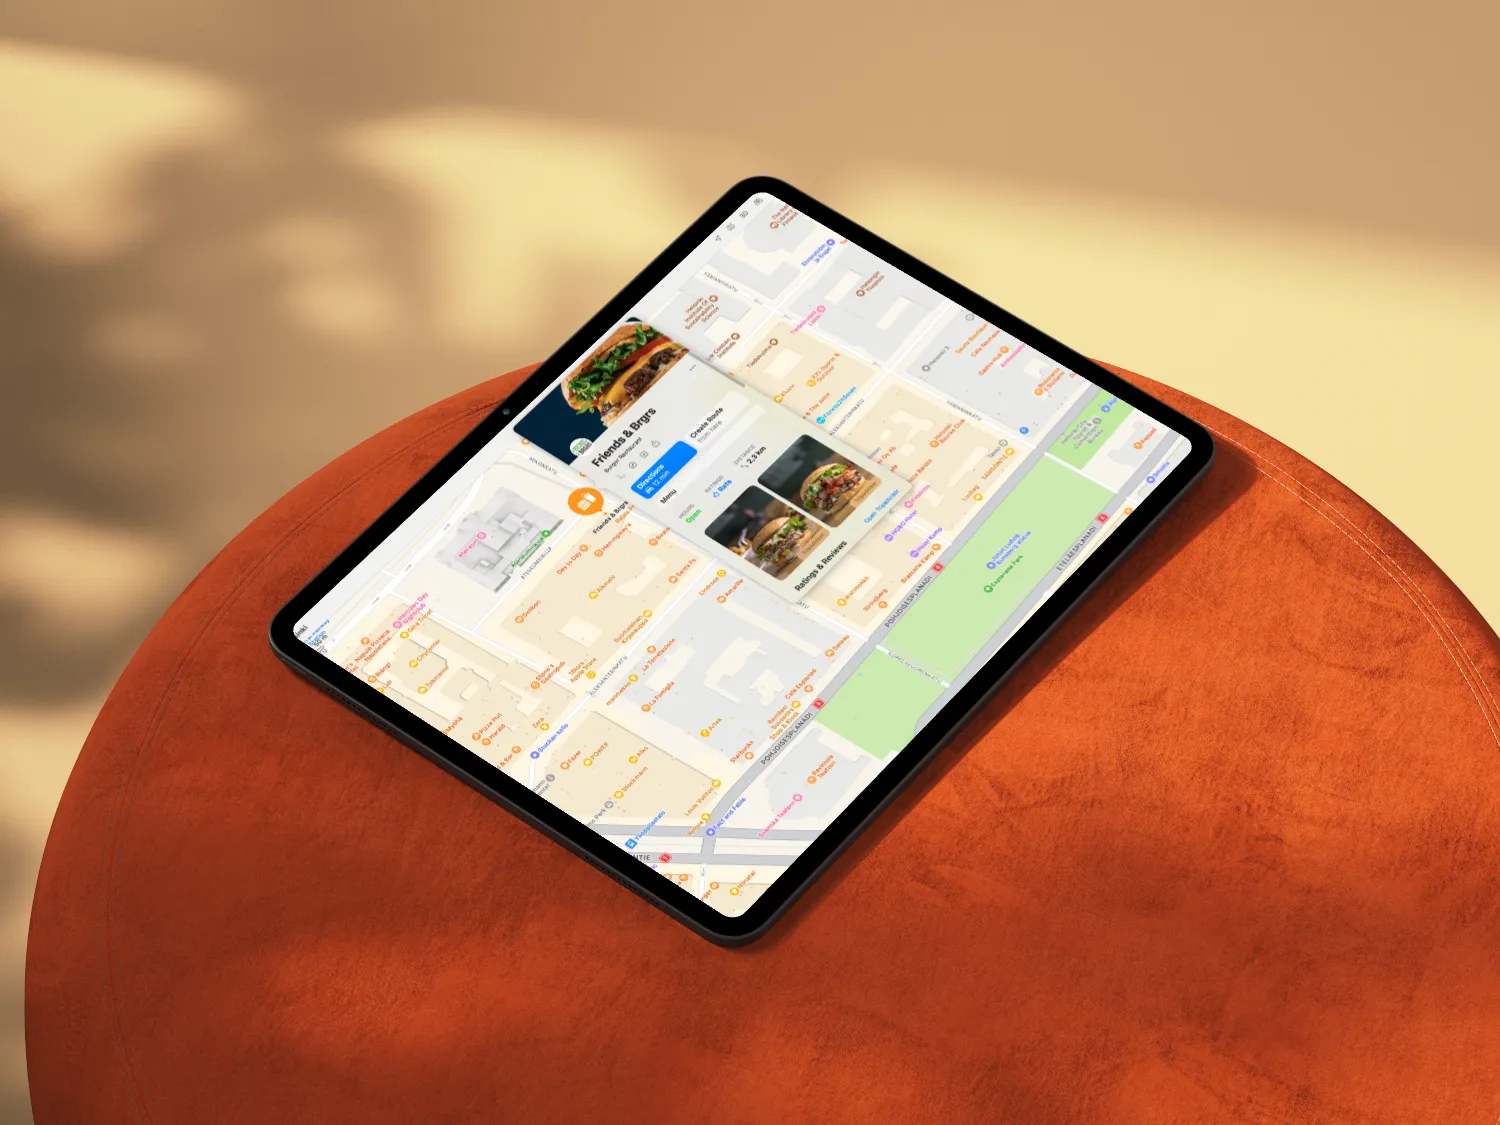
With billions of searches happening on Apple Maps every week, having your business listed isn’t optional — it’s a visibility must.
Apple Maps is integrated into Siri, Spotlight Search, and iPhone navigation, making it one of the most powerful discovery tools for local businesses.
If you’re not listed yet, customers searching for your product or service might never find you. Let’s fix that in just a few steps.
To manage your business on Apple Maps, you’ll need an Apple ID.
Apple Business Connect is the platform where you’ll manage your listing.
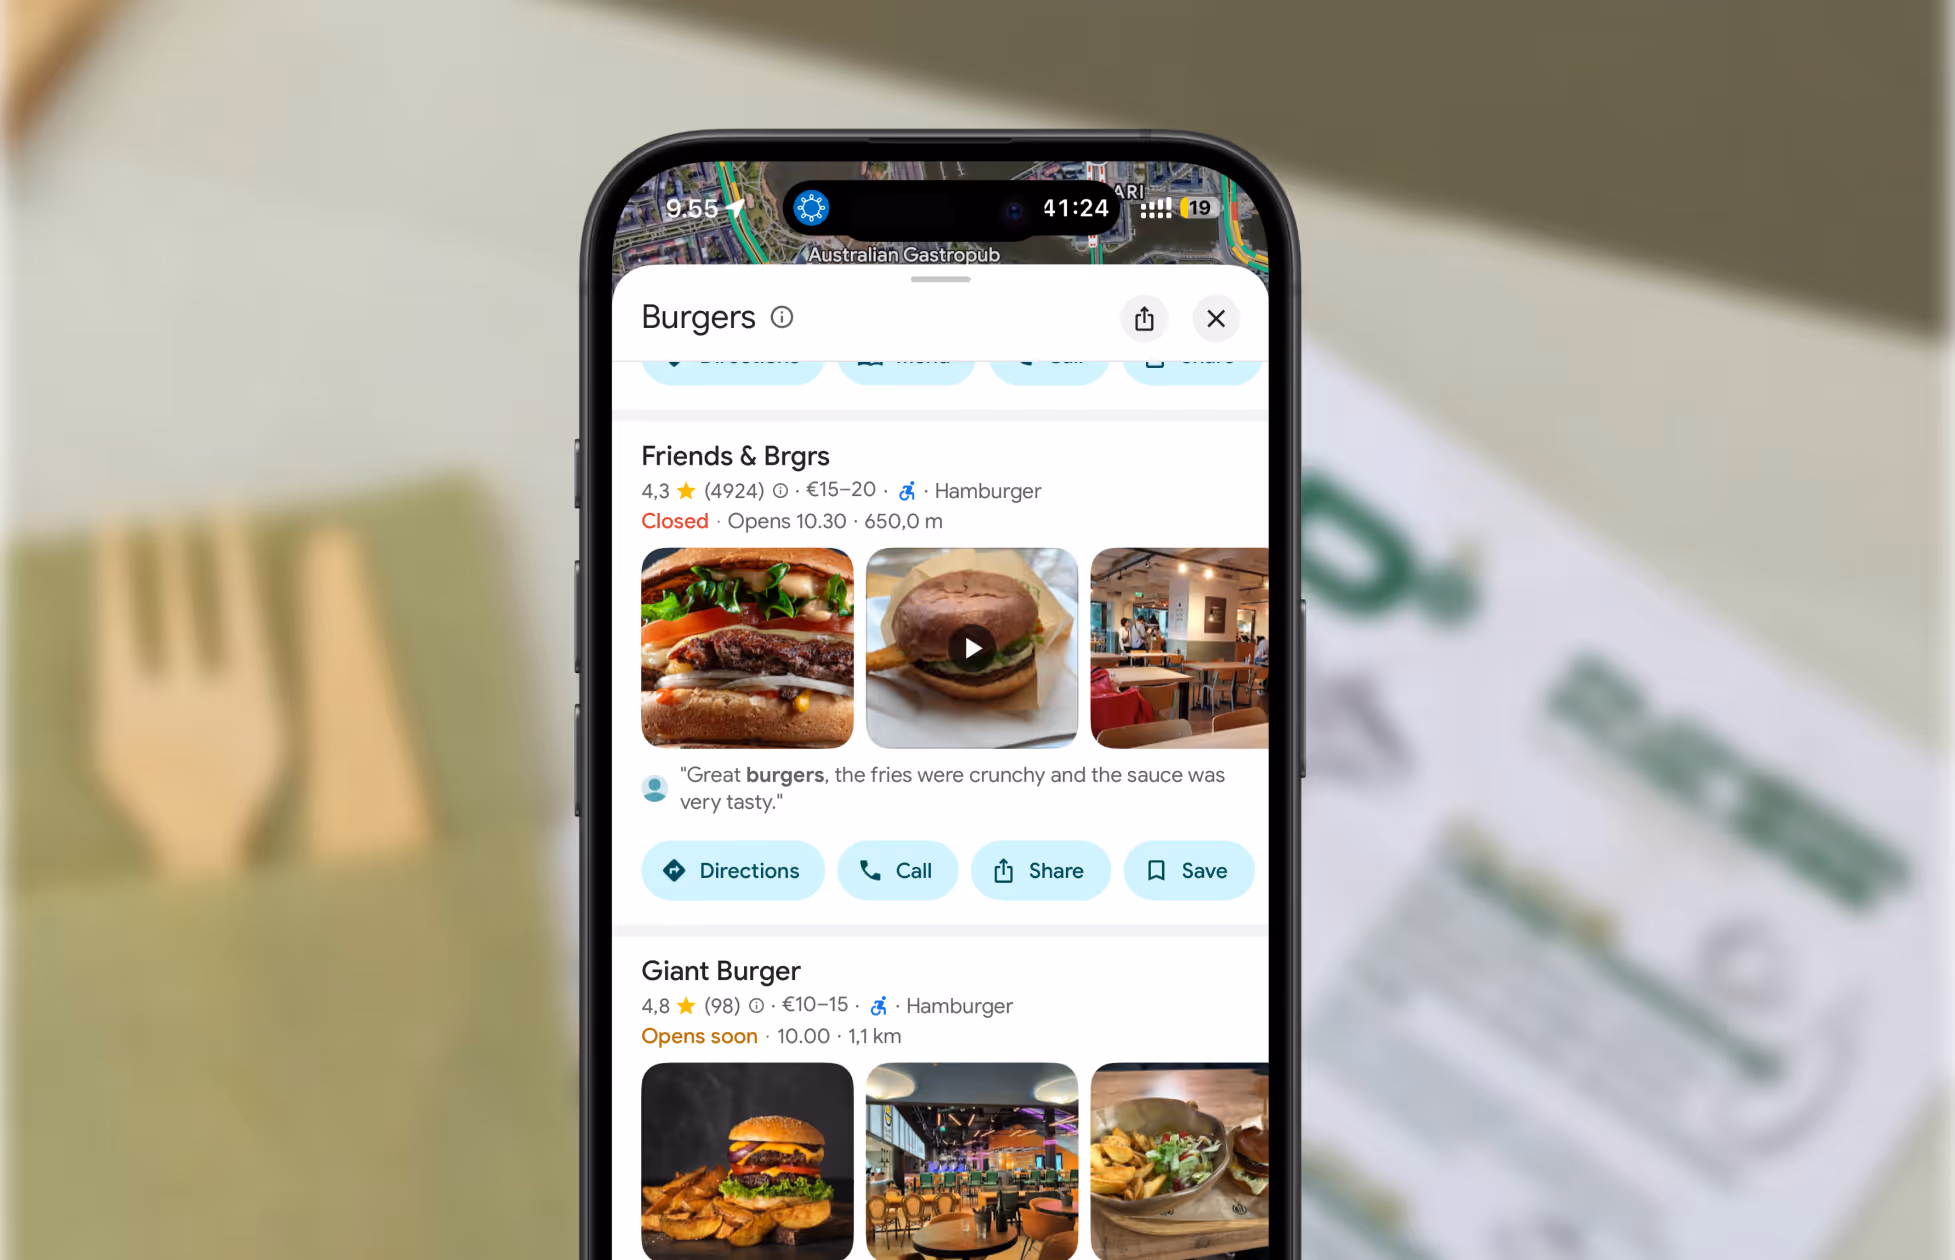
Now, add your business details—accuracy is key to ensure customers can find you.
Pro Tip: Keep your business name, address, and phone number (NAP) consistent across your website, social media, and other platforms. This improves your local SEO and ensures customers always have the correct information.
Apple requires verification to prevent fake listings. You can verify your business in several ways:
Complete the verification process, and Apple will review and approve your listing.
Pro Tip: Choose the fastest verification method available (usually phone or email) to get your business live on Apple Maps as quickly as possible.
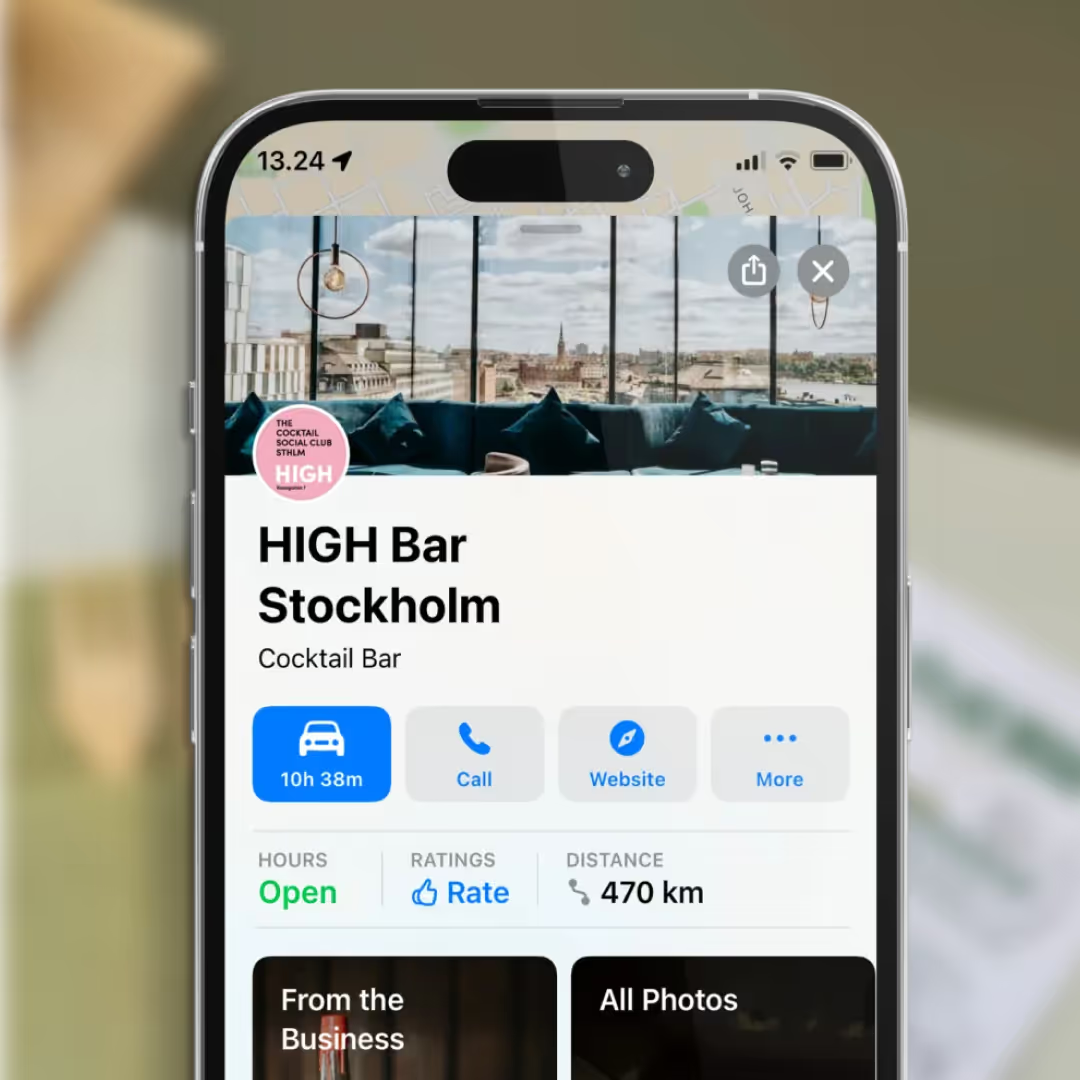
A detailed, visually appealing listing helps you stand out.
Pro Tip: Use bright, high-resolution images and update them regularly to showcase seasonal changes, new products, or special events.
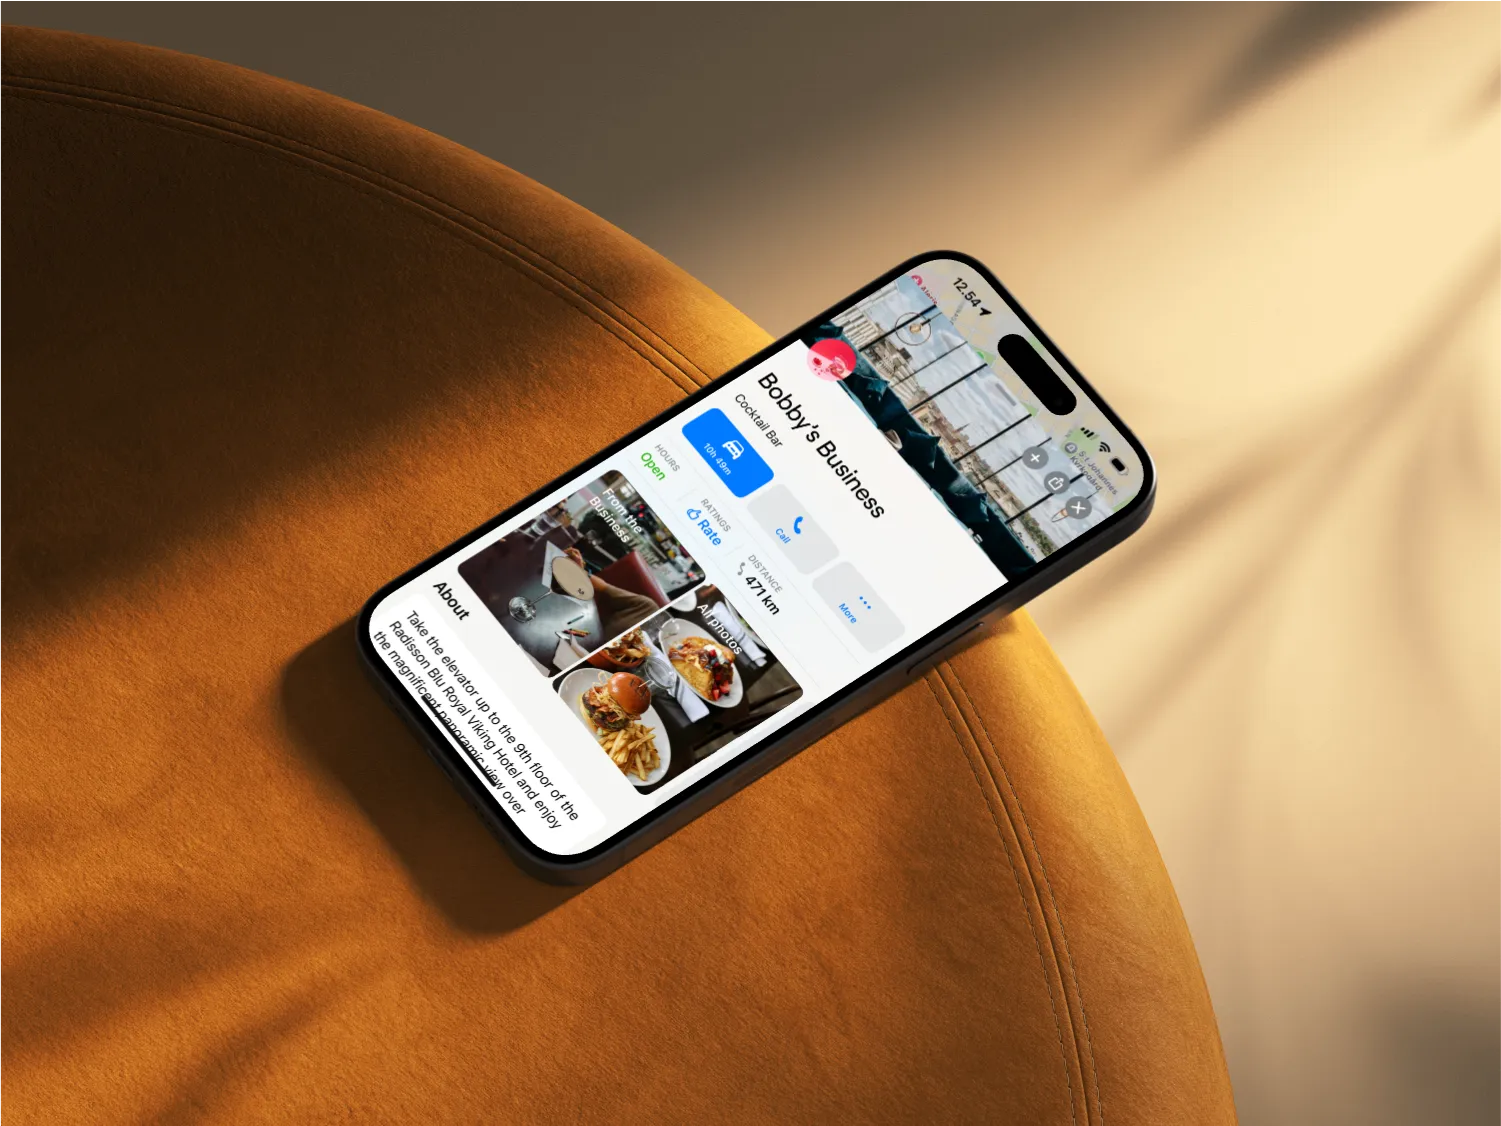
Regular updates help maintain customer trust and improve your visibility.
Pro Tip: Set a monthly reminder to review and update your Apple Maps listing so your information is always accurate.
Setting up your Apple Maps listing manually is straightforward, but keeping your business information accurate everywhere can be a challenge. That’s where Mobal comes in.
With Mobal, you can:
Pro Tip: Mobal lets you update all your business profiles in one place, saving you time and ensuring your information is always in sync.
Listing your business on Apple Maps is one of the simplest, most effective ways to attract new customers—completely free. By verifying your profile, optimizing with visuals, and maintaining accuracy through Mobal, you’ll drive both foot traffic and online engagement.
Ready to get started?
Add your business to Apple Business Connect, then let Mobal handle the rest—so you can focus on what matters most: running your business.
.webp)
.webp)
.avif)